The Art of Building a Custom Mechanical Keyboard from Scratch: A Complete Beginner Guide
Introduction to Custom Mechanical Keyboards
The world of mechanical keyboards is captivating and offers a unique blend of functionality and personalization. Building your own mechanical keyboard from scratch not only enhances your typing experience but also allows you to express your creativity. Whether you're looking to improve your typing speed, customize key feel, or design a keyboard that matches your aesthetic, this guide will take you through the essentials of building a custom mechanical keyboard as a beginner.
Gathering the Essential Components
To build your custom keyboard, you'll need to gather several key components:
1. The Case: This is the outer shell that houses all the components. Cases come in various materials like plastic, aluminum, or acrylic. Choose one that fits your style and preferences. 2. The PCB (Printed Circuit Board): The PCB is the heart of your keyboard and connects all the switches and components. Make sure to select a compatible PCB for your case. 3. Switches: These are the key components that register your keystrokes. There are various types of switches (mechanical, optical) with different tactile and auditory feedback. Research and select the switches that suit your typing style. 4. Keycaps: Keycaps are the top part of the switches that you actually press. They come in different shapes, colors, and materials. Ensure they are compatible with your switches. 5. Stabilizers: These are used for larger keys (like the spacebar and enter key) to prevent wobbling. Opt for quality stabilizers for a better typing experience. 6. Microcontroller (if not included with the PCB): Some PCBs come with a built-in microcontroller, while others may require you to solder one in. This component allows for communication between the keyboard and your computer. 7. Cables and Miscellaneous Tools: You will need a USB cable, soldering iron (if soldering), solder, and a keycap puller to help with assembly.Assembling Your Keyboard
Once you have all your components, it's time to start assembling your keyboard. Follow these steps:
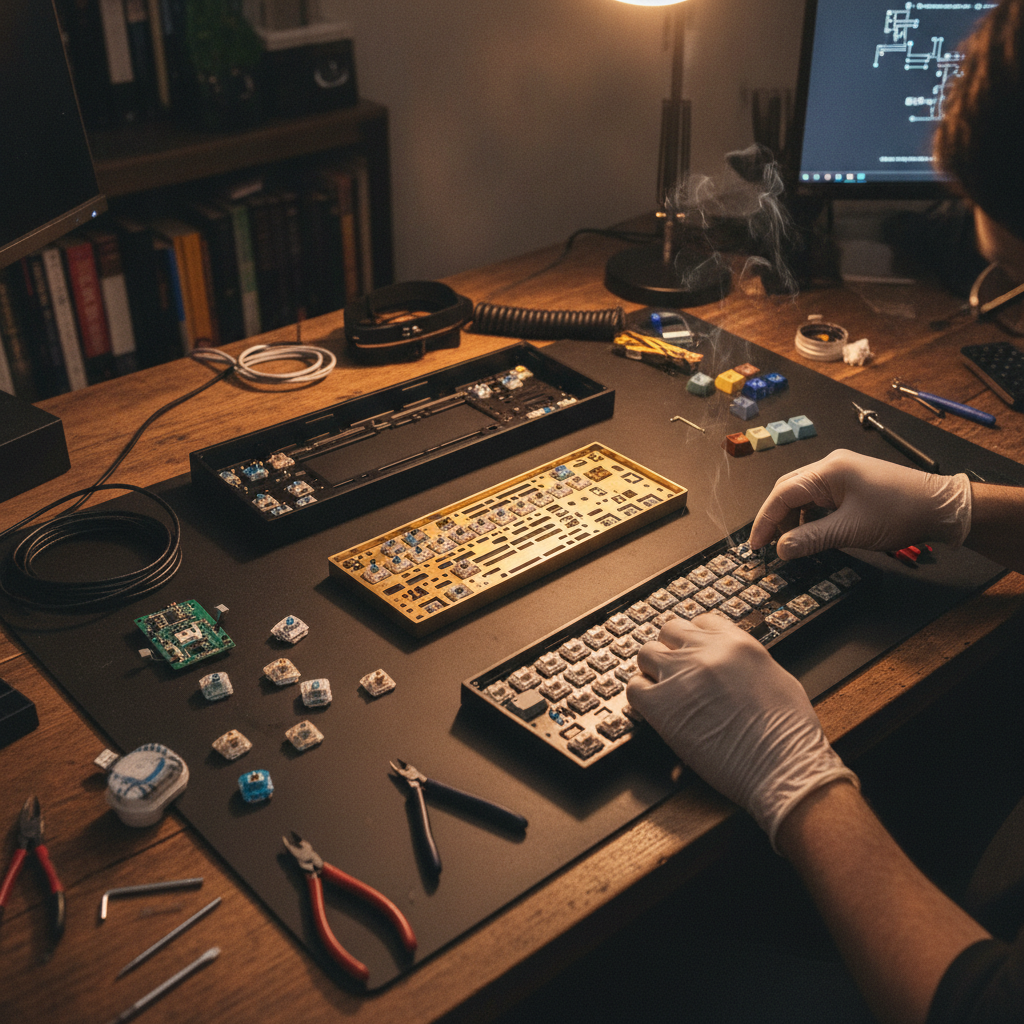 1. Prepare the PCB: If your PCB requires soldering, place the switches into the appropriate slots and solder them in place. Make sure to follow the PCB layout.
2. Install the Stabilizers: Before placing the switches, install the stabilizers on the larger keys. This will ensure a stable feel when typing.
3. Insert the Switches: Push the switches into the PCB, ensuring they are seated correctly.
4. Attach the Keycaps: Once the switches are firmly in place, you can attach your chosen keycaps. Use a keycap puller to help with this process.
5. Connect the Microcontroller: If your PCB requires a separate microcontroller, solder it in according to the instructions provided.
6. Fit Everything into the Case: Carefully place your assembled PCB into the case, ensuring all components fit snugly.
7. Connect Your Keyboard: Finally, plug in your USB cable to your computer and test your keyboard to ensure all keys are functioning properly.
1. Prepare the PCB: If your PCB requires soldering, place the switches into the appropriate slots and solder them in place. Make sure to follow the PCB layout.
2. Install the Stabilizers: Before placing the switches, install the stabilizers on the larger keys. This will ensure a stable feel when typing.
3. Insert the Switches: Push the switches into the PCB, ensuring they are seated correctly.
4. Attach the Keycaps: Once the switches are firmly in place, you can attach your chosen keycaps. Use a keycap puller to help with this process.
5. Connect the Microcontroller: If your PCB requires a separate microcontroller, solder it in according to the instructions provided.
6. Fit Everything into the Case: Carefully place your assembled PCB into the case, ensuring all components fit snugly.
7. Connect Your Keyboard: Finally, plug in your USB cable to your computer and test your keyboard to ensure all keys are functioning properly.
Customizing Your Experience
One of the most exciting aspects of building a custom keyboard is the ability to personalize it. Here are some ways to customize your experience:
1. Key Mapping: Use software to reprogram keys for different functionalities or create macros for your most-used shortcuts. 2. Lighting Effects: If your PCB supports RGB lighting, explore various effects and colors to make your keyboard visually stunning. 3. Additional Mods: Consider mods like sound dampening, lubing switches, or adding foam to enhance acoustics and improve the feel of your keyboard.Conclusion
Building a custom mechanical keyboard from scratch is not only a rewarding experience but also a pathway to a more personalized and enjoyable typing environment.
By following this beginner's guide, you can create a unique mechanical keyboard that caters to your typing habits and style. Embrace the art of custom keyboard building, and enjoy the process of crafting a tool that's uniquely yours!